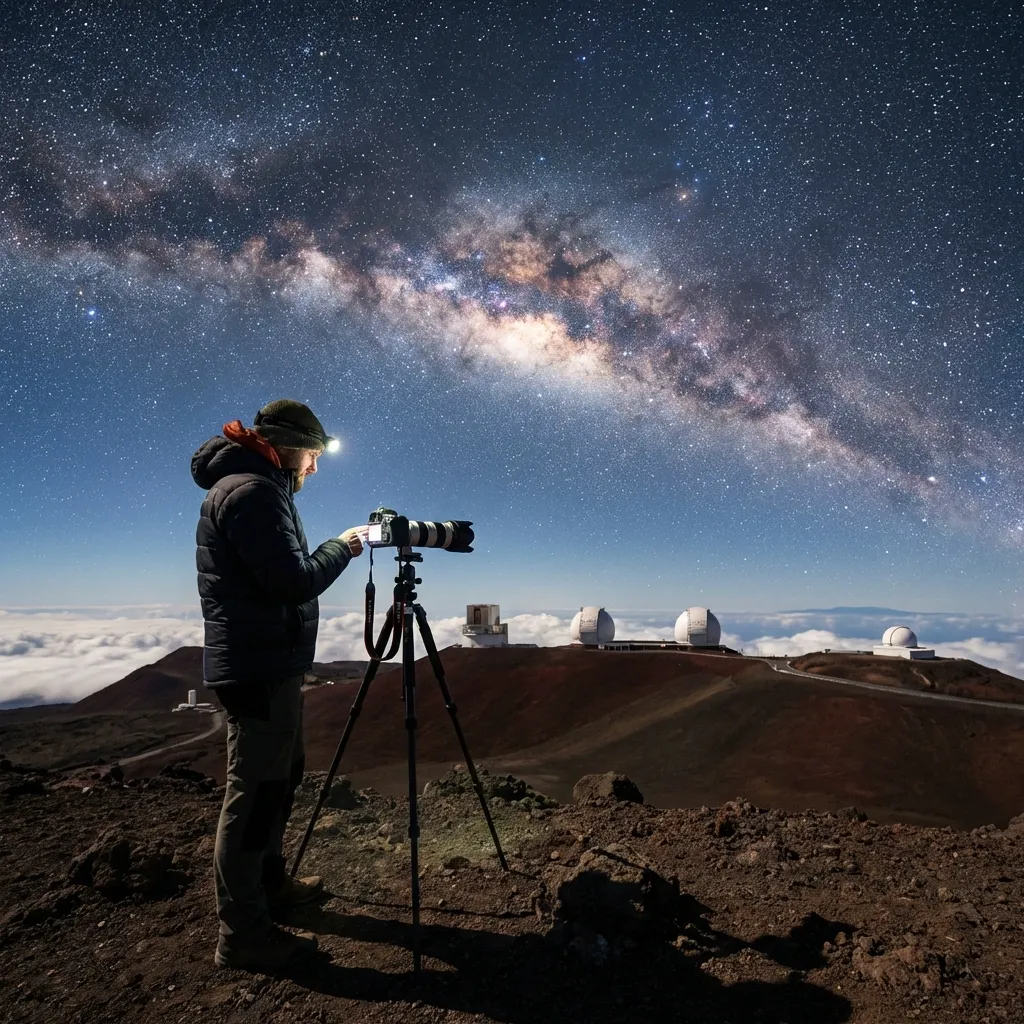
Mauna Kea is a pilgrimage site for astrophotographers. Standing at nearly 14,000 feet, you are above 40% of the Earth’s atmosphere and 90% of its water vapor. This results in “seeing” conditions that are among the best on the planet—stars don’t just twinkle here; they burn with a steady, piercing light.
Whether you’re a seasoned pro or a beginner with your first DLSR, this guide will help you capture the majestic beauty of the Hawaiian night sky.
Essential Gear for Mauna Kea Astrophotography
1. The Camera
A camera with a full-frame sensor is ideal for its low-light performance, but modern crop-sensor cameras (APS-C) can also produce stunning results. The key is the ability to shoot in Manual Mode and save files in RAW format.
2. The Lens (Fast and Wide)
To capture the expansive Milky Way, you need a wide-angle lens.
- Ideal focal length: 14mm to 24mm (full-frame equivalent).
- Aperture: f/2.8 or wider is best. Lenses with f/1.4 or f/1.8 will allow you to keep your ISO lower, resulting in cleaner images.
3. A Sturdy Tripod
The summit can be extremely windy. A lightweight travel tripod might vibrate, resulting in blurry stars. Bring a heavy-duty tripod and consider hanging your camera bag from the center column for extra stability.
4. Warm Gear for You
You cannot take good photos if you are shivering. Temperatures drop below freezing, and wind chill is significant. We provide parkas on our telescope tours, but make sure your base layers are solid!
Recommended Camera Settings
Astrophotography is about balancing light. You want to capture enough light to see the stars without letting them “trail” due to the Earth’s rotation.
The “500 Rule” (Basic Guide)
To avoid star trails, divide 500 by your focal length. For a 20mm lens: 500 / 20 = 25 seconds. This is your maximum shutter speed.
Pro Settings for Mauna Kea:
- Mode: Manual (M)
- Focus: Manual (Set to infinity using a bright star or planet)
- Aperture: Widest possible (e.g., f/2.8)
- ISO: 3200 to 6400 (Adjust based on noise levels)
- Shutter Speed: 15–20 seconds
- White Balance: 3800K to 4500K (Cooler tones look more natural for night skies)
- Timer: Use a 2-second delay or a remote shutter to avoid vibration from pressing the button.
Best Photography Locations on the Mountain
1. The Summit Ridge (13,796 ft)
Perfect for “Blue Hour” and sunset shots of the observatory domes. Note: You must descend 30 minutes after sunset, so this is primarily for early-night transitions.
2. The Visitor Information Station (9,200 ft)
Excellent for late-night sessions. The silhouette of the Silversword plants against the Milky Way makes for a classic Big Island composition.
3. Saddle Road Lookouts
If the mountain is “closed” due to weather at the top, the lower lookouts along Saddle Road often remain clear and offer a different perspective of the mountain’s massive profile under the stars.
Photography Tip: Our guides are also trained photographers. On every tour, we help guests set up their cameras and even take free professional Milky Way portraits of you to ensure you go home with the perfect shot. Whether you’re using a smartphone or a professional mirrorless setup, we ensure you capture the magic of the Pacific night sky.